Introduction#
Snipe-IT is an open source IT Asset Management software (ITAM). It can be self hosted or hosted on their cloud platform.
ITAM is important because it helps organizations track and manage their technology resources efficiently, ensuring proper utilization. It can help maintaining up-to-date inventory of hardware and software assets, businesses can avoid unnecessary purchases, ensure compliance with licenses, and improve security by identifying vulnerabilities or outdated systems.
In this tutorial I will guide you through the steps to install and configure Snipe-IT on Debian 12, setup Snipe-IT and use Caddy to automatically reverse proxy and generate an SSL certificate.
Steps#
Step 1: Pre-requisites#
You need docker installed on the vps as we will use the docker to install Snipe-IT. You can follow the instuctions on the docker’s official website.
You also need caddy installed in your system and can follow the instructions on Caddy’s website.
Check and update all other applications using the following.
sudo apt update
sudo apt upgrade
Step 2: Installing Snipe-IT#
Now we have Docker and Caddy installed on our system we use the following command to to create a directory to install Snipe-IT in.
Create a directory to install the app in and navigate into it.
mkdir snipeit
cd snipeit
Download the docker-compose.yml file and .env files.
curl https://raw.githubusercontent.com/snipe/snipe-it/master/docker-compose.yml --output docker-compose.yml
followed by
curl https://raw.githubusercontent.com/snipe/snipe-it/master/.env.docker --output .env
Use the following command to generate an APP_KEY for the .env file.
docker compose run --rm app php artisan key:generate --show
This is the .env file you need to edit.
You need to edit the following
- The default port is 8000, if you have the port in use then you need to specify another port.
- Enter your generated
APP_KEY - Enter your custom domain
APP_VERSION empty! You can select the
version you want from Snipe-it on docker hub# --------------------------------------------
# REQUIRED: DOCKER SPECIFIC SETTINGS
# --------------------------------------------
APP_VERSION= (Leave empty for latest, or enter version)
APP_PORT=8000
# --------------------------------------------
# REQUIRED: BASIC APP SETTINGS
# --------------------------------------------
APP_ENV=production
APP_DEBUG=false
# Please regenerate the APP_KEY value by calling `docker compose run --rm app php artisan key:generate --show`. Copy paste the value here
APP_KEY=enter app key here
APP_URL=https://snipeit.domain.com (Enter your custom domain here)
# https://en.wikipedia.org/wiki/List_of_tz_database_time_zones - TZ identifier
APP_TIMEZONE='UTC'
APP_LOCALE=en-US
MAX_RESULTS=500
# --------------------------------------------
# REQUIRED: UPLOADED FILE STORAGE SETTINGS
# --------------------------------------------
PRIVATE_FILESYSTEM_DISK=local
PUBLIC_FILESYSTEM_DISK=local_public
# --------------------------------------------
# REQUIRED: DATABASE SETTINGS
# --------------------------------------------
DB_CONNECTION=mysql
DB_HOST=db
DB_SOCKET=null
DB_PORT='3306'
DB_DATABASE=snipeit
DB_USERNAME=snipeit
DB_PASSWORD=changeme1234
MYSQL_ROOT_PASSWORD=changeme1234
DB_PREFIX=null
DB_DUMP_PATH='/usr/bin'
DB_DUMP_SKIP_SSL=true
DB_CHARSET=utf8mb4
DB_COLLATION=utf8mb4_unicode_ci
# --------------------------------------------
# OPTIONAL: SSL DATABASE SETTINGS
# --------------------------------------------
DB_SSL=false
DB_SSL_IS_PAAS=false
DB_SSL_KEY_PATH=null
DB_SSL_CERT_PATH=null
DB_SSL_CA_PATH=null
DB_SSL_CIPHER=null
DB_SSL_VERIFY_SERVER=null
# --------------------------------------------
# REQUIRED: OUTGOING MAIL SERVER SETTINGS
# --------------------------------------------
MAIL_MAILER=smtp
MAIL_HOST=mailhog
MAIL_PORT=1025
MAIL_USERNAME=null
MAIL_PASSWORD=null
MAIL_TLS_VERIFY_PEER=true
MAIL_FROM_ADDR=you@example.com
MAIL_FROM_NAME='Snipe-IT'
MAIL_REPLYTO_ADDR=you@example.com
MAIL_REPLYTO_NAME='Snipe-IT'
MAIL_AUTO_EMBED_METHOD='attachment'
# --------------------------------------------
# REQUIRED: DATA PROTECTION
# --------------------------------------------
ALLOW_BACKUP_DELETE=false
ALLOW_DATA_PURGE=false
# --------------------------------------------
# REQUIRED: IMAGE LIBRARY
# This should be gd or imagick
# --------------------------------------------
IMAGE_LIB=gd
# --------------------------------------------
# OPTIONAL: BACKUP SETTINGS
# --------------------------------------------
MAIL_BACKUP_NOTIFICATION_DRIVER=null
MAIL_BACKUP_NOTIFICATION_ADDRESS=null
BACKUP_ENV=true
# --------------------------------------------
# OPTIONAL: CHANGE PHP UPLOAD LIMITS (UNCOMMENT WHEN NEEDING TO BE CHANGED)
# --------------------------------------------
#PHP_UPLOAD_LIMIT=10
#PHP_POST_MAX_SIZE=10
#PHP_UPLOAD_MAX_FILESIZE=10
#PHP_MEMORY_LIMIT=10
# --------------------------------------------
# OPTIONAL: SESSION SETTINGS
# --------------------------------------------
SESSION_LIFETIME=12000
EXPIRE_ON_CLOSE=false
ENCRYPT=false
COOKIE_NAME=snipeit_session
COOKIE_DOMAIN=null
SECURE_COOKIES=false
API_TOKEN_EXPIRATION_YEARS=40
# --------------------------------------------
# OPTIONAL: SECURITY HEADER SETTINGS
# --------------------------------------------
APP_TRUSTED_PROXIES=192.168.1.1,10.0.0.1,172.16.0.0/12
ALLOW_IFRAMING=false
REFERRER_POLICY=same-origin
ENABLE_CSP=false
CORS_ALLOWED_ORIGINS=null
ENABLE_HSTS=false
# --------------------------------------------
# OPTIONAL: CACHE SETTINGS
# --------------------------------------------
CACHE_DRIVER=file
SESSION_DRIVER=file
QUEUE_DRIVER=sync
CACHE_PREFIX=snipeit
# --------------------------------------------
# OPTIONAL: REDIS SETTINGS
# --------------------------------------------
REDIS_HOST=null
REDIS_PASSWORD=null
REDIS_PORT=6379
# --------------------------------------------
# OPTIONAL: MEMCACHED SETTINGS
# --------------------------------------------
MEMCACHED_HOST=null
MEMCACHED_PORT=null
# --------------------------------------------
# OPTIONAL: PUBLIC S3 Settings
# --------------------------------------------
PUBLIC_AWS_SECRET_ACCESS_KEY=null
PUBLIC_AWS_ACCESS_KEY_ID=null
PUBLIC_AWS_DEFAULT_REGION=null
PUBLIC_AWS_BUCKET=null
PUBLIC_AWS_URL=null
PUBLIC_AWS_BUCKET_ROOT=null
# --------------------------------------------
# OPTIONAL: PRIVATE S3 Settings
# --------------------------------------------
PRIVATE_AWS_ACCESS_KEY_ID=null
PRIVATE_AWS_SECRET_ACCESS_KEY=null
PRIVATE_AWS_DEFAULT_REGION=null
PRIVATE_AWS_BUCKET=null
PRIVATE_AWS_URL=null
PRIVATE_AWS_BUCKET_ROOT=null
# --------------------------------------------
# OPTIONAL: AWS Settings
# --------------------------------------------
AWS_ACCESS_KEY_ID=null
AWS_SECRET_ACCESS_KEY=null
AWS_DEFAULT_REGION=null
# --------------------------------------------
# OPTIONAL: LOGIN THROTTLING
# --------------------------------------------
LOGIN_MAX_ATTEMPTS=5
LOGIN_LOCKOUT_DURATION=60
RESET_PASSWORD_LINK_EXPIRES=900
INVITE_PASSWORD_LINK_EXPIRES=1500
# --------------------------------------------
# OPTIONAL: MISC
# --------------------------------------------
LOG_CHANNEL=stderr
LOG_MAX_DAYS=10
APP_LOCKED=false
APP_CIPHER=AES-256-CBC
APP_FORCE_TLS=false
GOOGLE_MAPS_API=
LDAP_MEM_LIM=500M
LDAP_TIME_LIM=600
Step 3: Configuring Caddy#
After setting up Snipe-IT, we must configure Caddy.
Use the following command to open the CaddyFile
sudo nano /etc/caddy/Caddyfile
Clear out the default contents and paste the following in the file.
Replace snipeit.domain.com with your actual domain.
snipeit.domain.com {
        reverse_proxy localhost:8000
}
Save and restart Caddy service using the following command.
sudo systemctl restart caddy
Step 4: Start Snipe-IT#
After configuring Caddy, move into your snipeit directory. Start the application
using the following command.
docker compose up -d
You can access your application on the URL mentioned in the CaddyFile and begin setting up
your instance.
Update#
Since we are using the latest tag by default due to leaving APP_VERSION empty,
we simply need to restart docker using the following to update.
docker compose down
and
docker compose up -d
If you are using a specific version, you would need to write the newer version tag in
the APP_VERSION and restart docker using the above commands to update.
Conclusion#
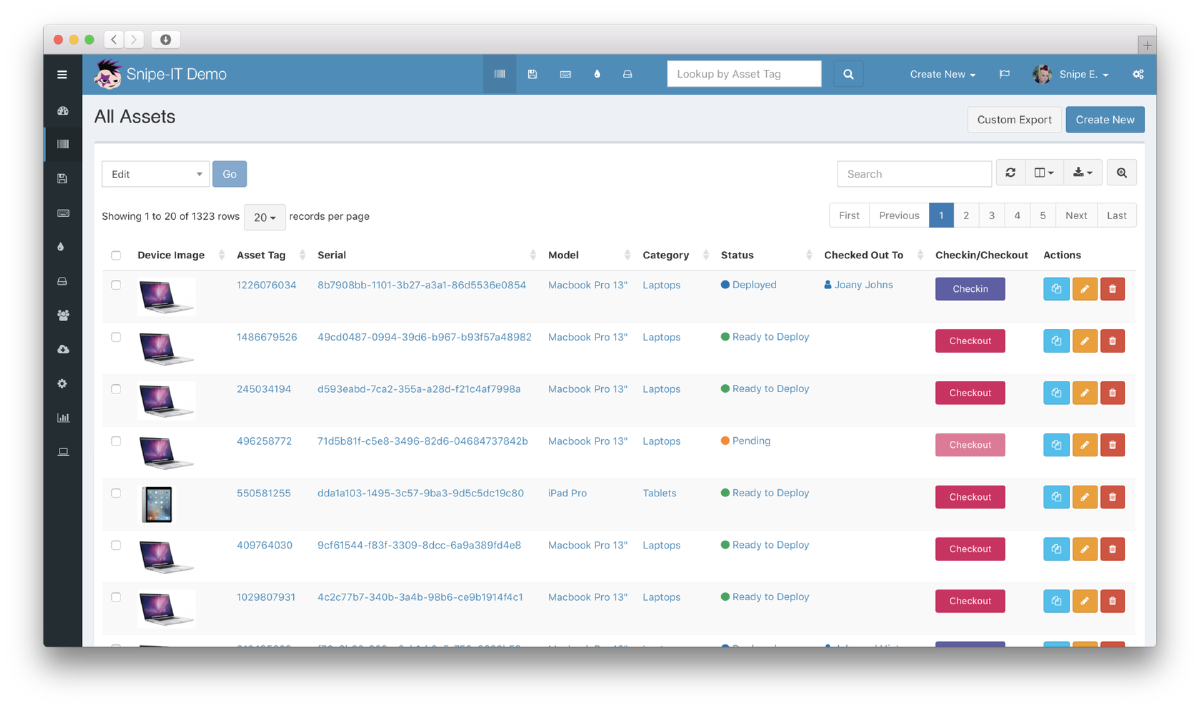
With this, your SnipeIT instance is now fully deployed and secured behind a reverse proxy, you have control over your IT assets.
If you run any issues or need further help, fell free to reach out via email or open a discussion