Introduction#
Umami is a simple, lightweight, privacy focused alternative to Google Analytics. It is known for ease of use, cookie-free tracking, GDPR compliant analytics software.
It is free and open source, you can use their platform for hobby projects as they have a generous free tier. You can self host it in your server for free.
In this tutorial I will guide you through the steps to install and configure Umami on Debian 12, setup Umami and use Caddy to automatically reverse proxy and generate an SSL certificate.
Steps#
Step 1: Pre-requisites#
You need docker installed on the vps as we will use the docker to install Umami. You can follow the instuctions on the docker’s official website.
You also need caddy installed in your system and can follow the instructions on Caddy’s website.
Check and update all other applications using the following.
sudo apt update
sudo apt upgrade
Step 2: Installing Umami#
Now we have Docker and Caddy installed on our system we use the following command to pull the Umami Git repository and then movie into the pulled directory.
git clone https://github.com/umami-software/umami.git && cd umami/
Now we needs to make to adjustments to the Umami docker compose file.
First, run the following command to generate a random string of characters,
then copy it into the APP_SECRET in the file.
openssl rand -base64 32
Second change the ports to 127.0.0.1:3000:3000 in the file, it is to
enhance security and ensure all traffic goes through your reverse proxy (Caddy).
services:
  umami:
    image: ghcr.io/umami-software/umami:postgresql-latest
    ports:
      - "127.0.0.1:3000:3000"
    environment:
      DATABASE_URL: postgresql://umami:umami@db:5432/umami
      DATABASE_TYPE: postgresql
      APP_SECRET: "paste your app secret here"
    depends_on:
      db:
        condition: service_healthy
    init: true
    restart: always
    healthcheck:
      test: ["CMD-SHELL", "curl http://localhost:3000/api/heartbeat"]
      interval: 5s
      timeout: 5s
      retries: 5
  db:
    image: postgres:15-alpine
    environment:
      POSTGRES_DB: umami
      POSTGRES_USER: umami
      POSTGRES_PASSWORD: umami
    volumes:
      - umami-db-data:/var/lib/postgresql/data
    restart: always
    healthcheck:
      test: ["CMD-SHELL", "pg_isready -U $${POSTGRES_USER} -d $${POSTGRES_DB}"]
      interval: 5s
      timeout: 5s
      retries: 5
volumes:
  umami-db-data:
CaddyFile.Step 3: Configuring Caddy#
After setting up Umami, we must configure Caddy.
Use the following command to open the CaddyFile
sudo nano /etc/caddy/Caddyfile
Clear out the default contents and paste the following in the file.
Replace umami.domain.com with your actual domain.
umami.domain.com {
        reverse_proxy localhost:3000
}
Save and restart Caddy service using the following command.
sudo systemctl restart caddy
Step 4: Start Umami#
After configuring Caddy, move into your Umami directory. Start Umami using the following command.
sudo docker compose up -d
This will pull the necessary images, start the containers in the background,
and set Umami up and running at port 3000.
You can check if everything is running properly using
sudo docker ps -a
This will list all running containers. You should see both the umami and umami-db services listed and marked as Up.
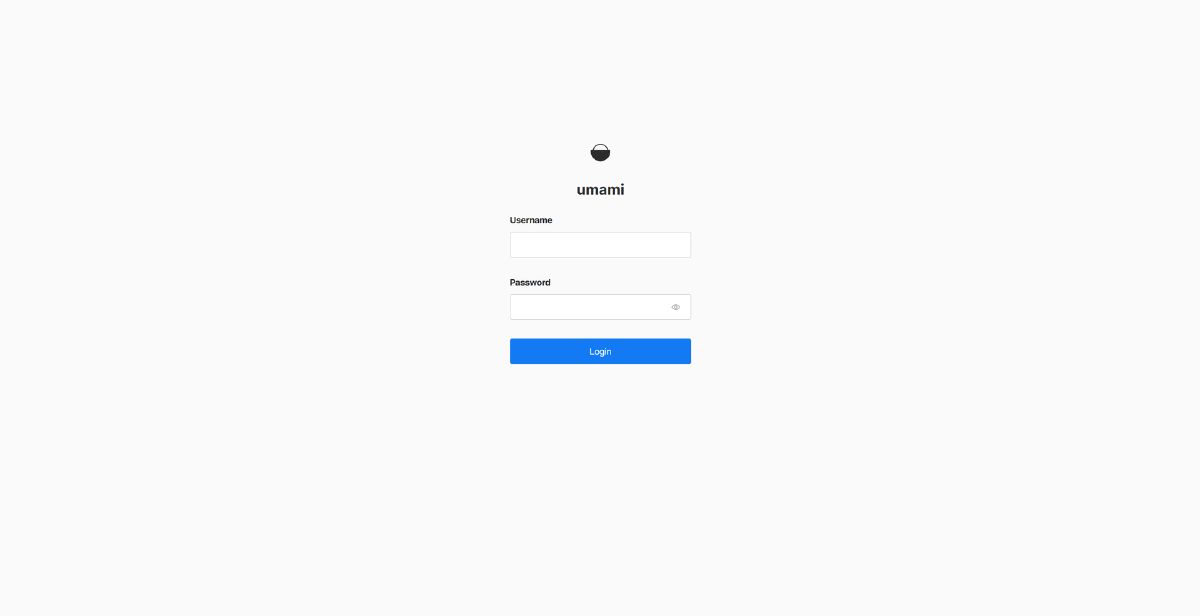
You can now access Umami through your domain specified in CaddyFile.
umami.domain.com
Log in using the default credentials
- Username:
admin - Password:
umami
Update#
To update your Umami installation, simply pull the latest files from Github using
git pull
After downloading the updated files. Simply restart docker.
docker compose down
Followed by.
docker compose up -d
Conclusion#
With this, your Umami instance is now fully deployed and secured behind a reverse proxy, you have control over your analytics.
From here, you can start adding websites, creating new users, setting up custom events.
If you run any issues or need further help, fell free to reach out via email or open a discussion